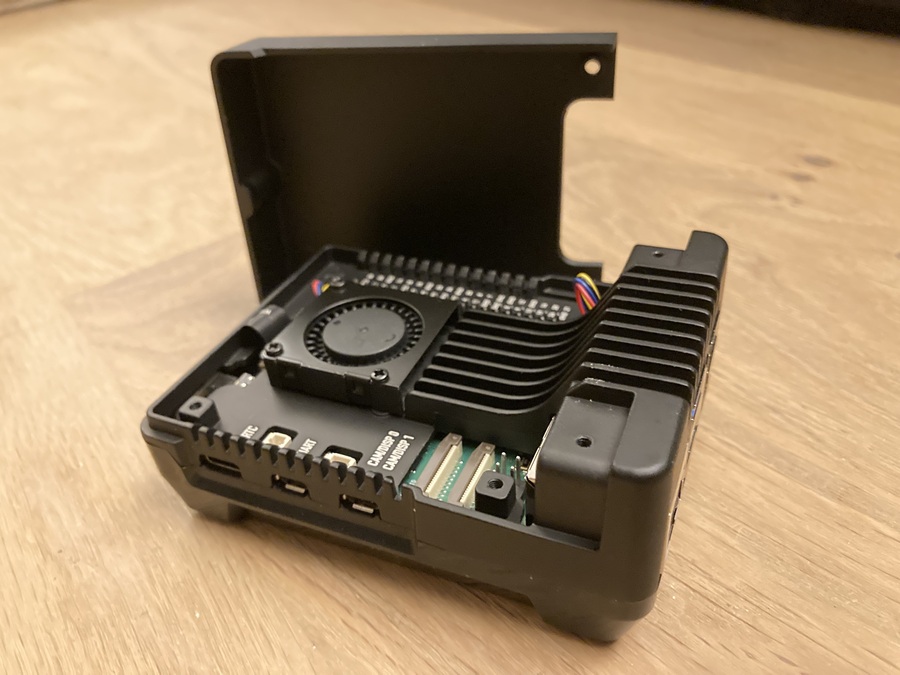
I wanted to experiment with self-hosting and decided to do it on a Raspberry Pi 5. One thing I’ve never been fond of with Raspberry Pi is the microSD card—it’s slow and unreliable. Thankfully, it’s now easier than ever to boot from an NVMe drive. These are my notes on setting it up and using it effectively.
I previously wrote a Raspberry Pi cheatsheet, but unfortunately, it has become outdated. For example, downloading the Raspberry Pi OS and burning it onto a microSD card with Etcher is no longer the most convenient method. Using the Raspberry Pi Imager is now a better option.
Prerequisites:
Launch Raspberry Pi Imager
Insert the SD card into the Raspberry Pi and power it on
SSH into the Raspberry Pi: ssh username@hostname
From this point forward, I will be leaning extensively on Jeff Geerling’s blog post.
sudo apt install git

# Install Jeff's rpi-clone
git clone https://github.com/geerlingguy/rpi-clone.git
cd rpi-clone
sudo cp rpi-clone rpi-clone-setup /usr/local/sbin

# Check the drives
lsblk

# Clone the Raspberry Pi OS to the NVMe drive, this should take a minute.
sudo rpi-clone nvme0n1sudo vi /boot/firmware/config.txtAdd the following lines before [CM4]:
# Enable the external PCIe port
dtparam=pciex1
# It is needed by the argon40
usb_max_current_enable=1sudo rpi-eeprom-config --editIt should be:
[all]
BOOT_UART=1
WAKE_ON_GPIO=0
POWER_OFF_ON_HALT=1
BOOT_ORDER=0xf416
If in nano, press Ctrl + O then Enter to save and Ctrl + X to exit.
sudo rebootlsblk
NAME MAJ:MIN RM SIZE RO TYPE MOUNTPOINTS
mmcblk0 179:0 0 14.6G 0 disk
|-mmcblk0p1 179:1 0 512M 0 part
`-mmcblk0p2 179:2 0 14.1G 0 part
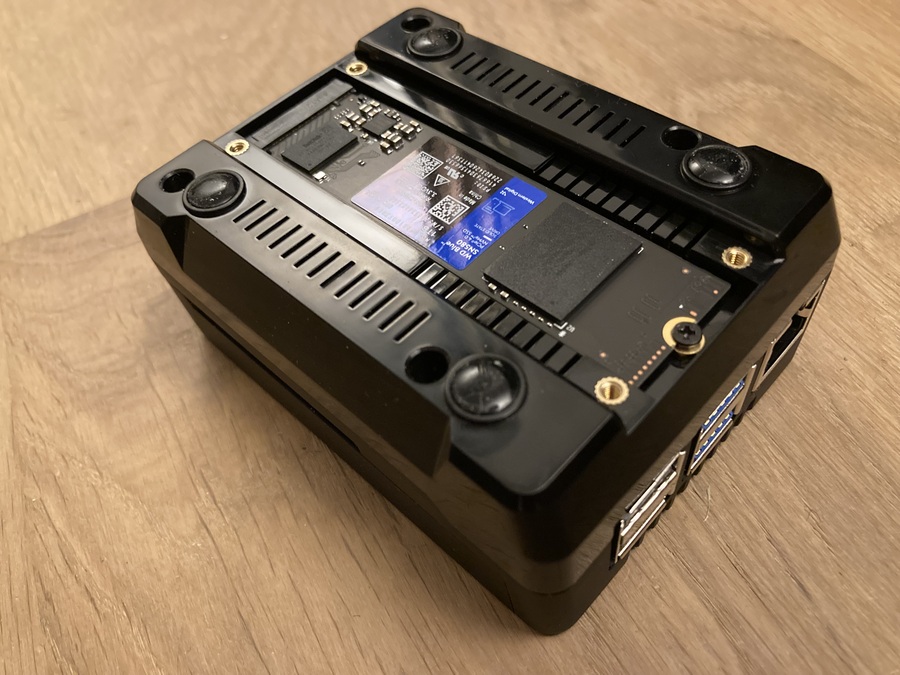
nvme0n1 259:0 0 931.5G 0 disk
|-nvme0n1p1 259:1 0 512M 0 part /boot/firmware
`-nvme0n1p2 259:2 0 931G 0 part /The root / is now on the NVMe drive 🎉.
sudo apt update
sudo apt install hdparm -y

sudo hdparm -t /dev/nvme0n1

/dev/nvme0n1:
 Timing buffered disk reads: 1352 MB in  3.00 seconds = 450.38 MB/sec
It is pretty fast compared to the microSD card, ten times faster in my case.
This went smoother than I expected. Thank you, Jeff Geerling, for the detailed guide! While Argon provides a script that handles some of what Jeff covered, I wanted to go through the process myself to better understand it. For example, I chose not to enable PCIe Gen 3 since the port on the Raspberry Pi is only rated for PCIe Gen 2. I aim to self-host, and the last thing I want to deal with is an unstable connection to the drive.